10 Oil Painting Mistakes Beginners Should Avoid
Oil painting is a beautiful and rewarding art form, but it can also feel challenging when you are just starting. Unlike quick-drying paints, oil colors remain workable for a longer time, allowing artists to blend, layer, and adjust their artwork. However, this flexibility can also lead beginners to make mistakes that affect the texture, color, depth, and overall appearance of a painting. Understanding common oil painting mistakes beginners should avoid can save time, reduce frustration, and help you build confidence as an artist.
Many beginners focus only on learning how to apply paint but overlook important factors such as preparing the canvas, choosing suitable brushes, controlling paint thickness, mixing colors carefully, and allowing layers to dry properly. These small details can make a significant difference in the final artwork. Instead of becoming discouraged when a painting does not look as expected, learning what went wrong can turn every mistake into a useful lesson.
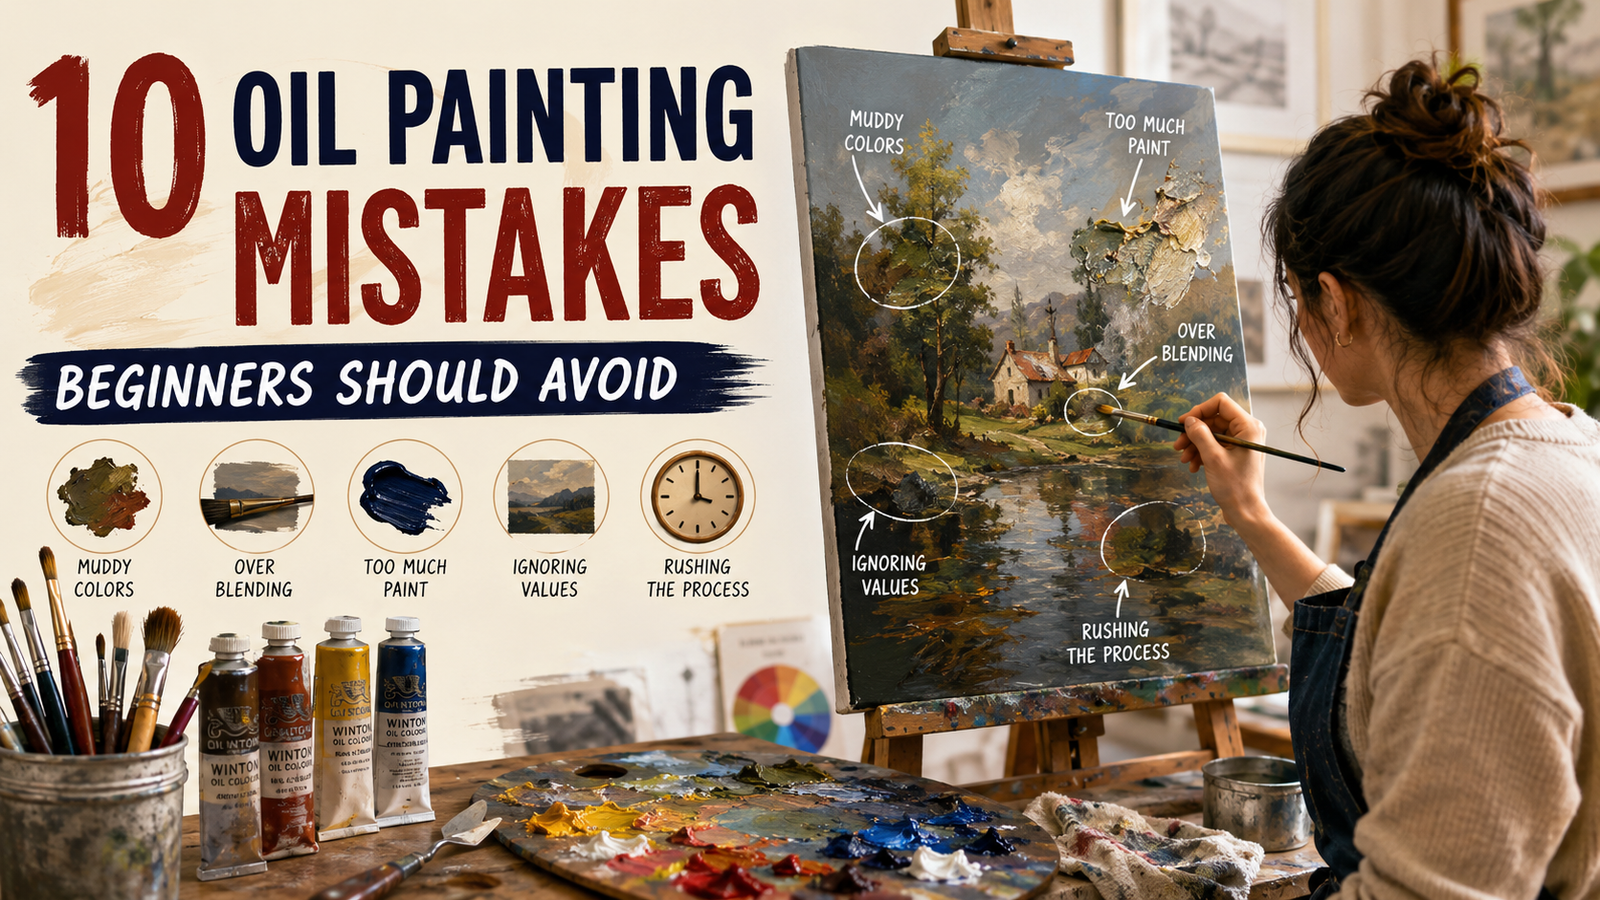
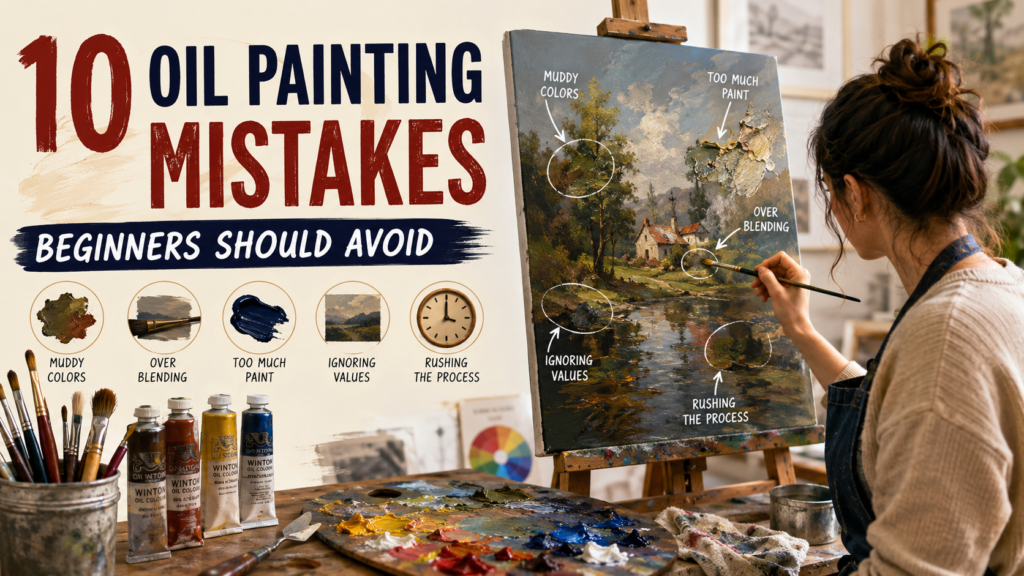
In this guide, we will explore ten common oil painting mistakes beginners often make and explain simple ways to avoid them. Whether you are painting landscapes, flowers, portraits, still life, or abstract artwork, these practical tips can help you develop better habits and create cleaner, more balanced paintings. If you are still learning basic techniques, you can also explore our guide on 10 Essential Oil Painting Techniques for Beginners to Try at Home for additional practice ideas.
1. Using Too Much Paint at the Beginning
One of the most common oil painting mistakes beginners make is applying too much paint too early. Thick paint can be difficult to control, especially when you are still working on the basic shapes and composition. If you immediately cover the canvas with heavy layers, it becomes harder to make corrections or establish a clear structure.
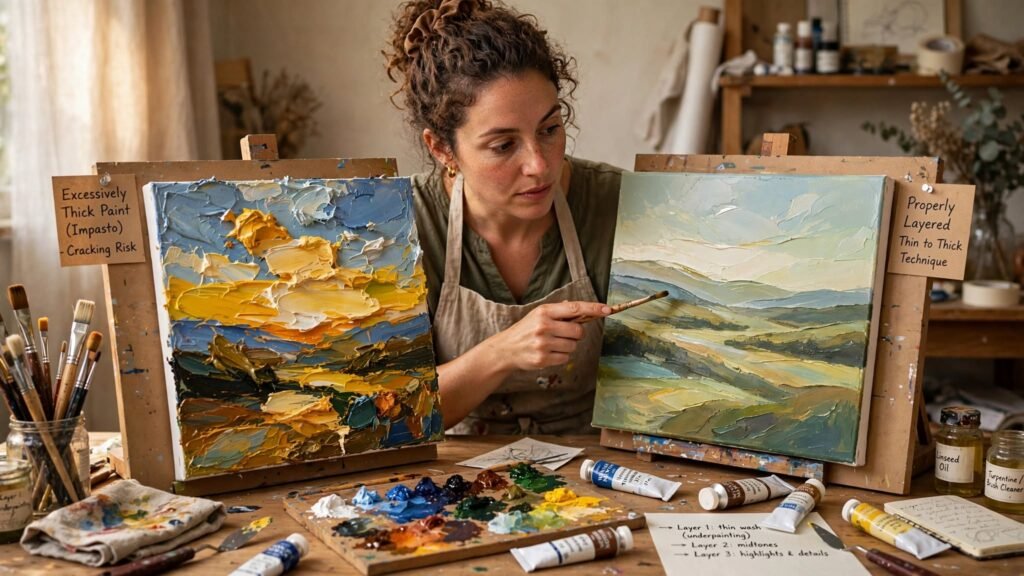
A better approach is to begin with thinner, controlled layers. Start by lightly establishing the main shapes, proportions, and values before gradually adding thicker paint. This gives you more control over the painting and makes it easier to build depth. As you become more confident, you can intentionally use thicker applications of paint to create texture and highlights.
2. Mixing Too Many Colors
Another common mistake is mixing too many colors on the palette. Beginners often believe that adding more colors will create a richer shade, but excessive mixing can produce dull, muddy-looking colors. This is especially noticeable when painting flowers, landscapes, skies, and colorful still-life subjects.
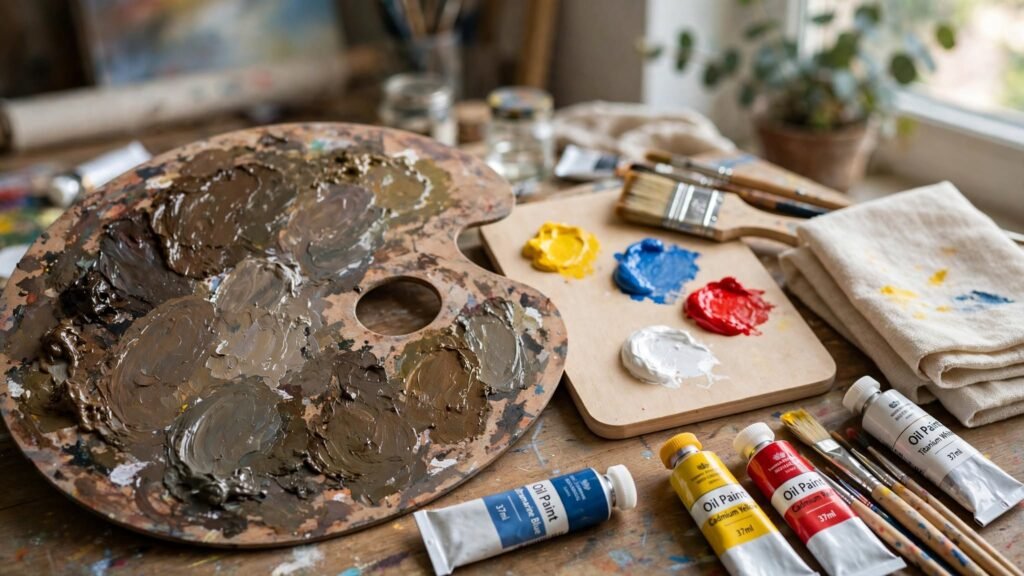
Try working with a limited palette instead. Learn how primary colors can be combined to create secondary and intermediate colors. When you understand your palette, you can create more harmonious color relationships while maintaining clarity and vibrancy. Clean your mixing area regularly and avoid repeatedly combining leftover colors unless you intentionally want a neutral shade.
3. Ignoring the Importance of Value
Color is important in oil painting, but value, the lightness or darkness of a color, is equally important. Beginners sometimes concentrate so much on choosing beautiful colors that they forget to establish clear light and dark relationships. As a result, the painting can look flat even when the colors themselves are attractive.
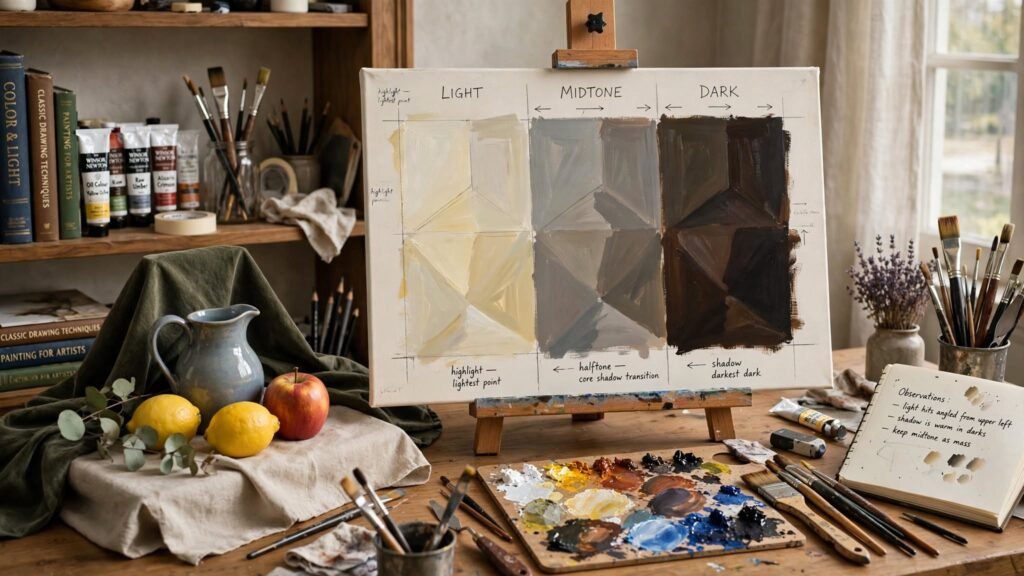
Before adding detailed colors, study the light and shadow of your subject. Identify the darkest areas, middle values, and brightest highlights. You can even create a simple value sketch before beginning the final painting. Strong value relationships help objects appear three-dimensional and give your composition greater depth.
4. Using the Wrong Brush for Every Task
Using one brush for everything can make oil painting unnecessarily difficult. Different brushes create different marks, edges, textures, and levels of detail. A large flat brush may be excellent for blocking in broad areas, but it may not be suitable for tiny details.
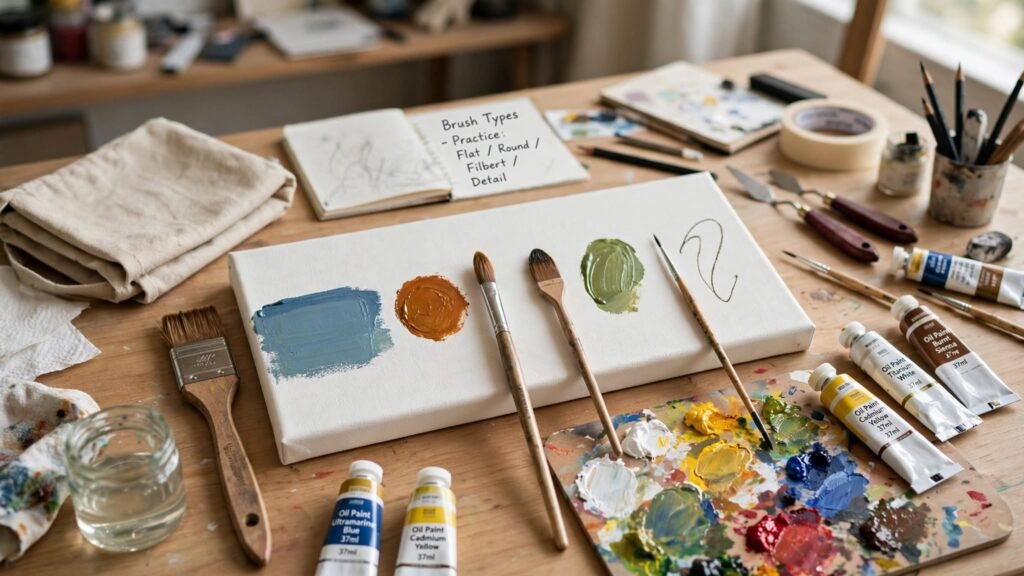
Build a small collection of useful brushes instead of buying dozens at once. Flat brushes can help with broad shapes, round brushes are useful for details, and softer brushes can help with gentle blending. Clean your brushes between colors so unwanted paint does not contaminate your mixtures. Learning how each brush behaves will gradually improve your control.
5. Over-Blending the Paint
Blending is one of the attractive features of oil painting, but over-blending is a mistake many beginners make. When every color transition is repeatedly brushed, the painting can lose its texture and become muddy. This is particularly common when working on skies, skin tones, flowers, and landscapes.
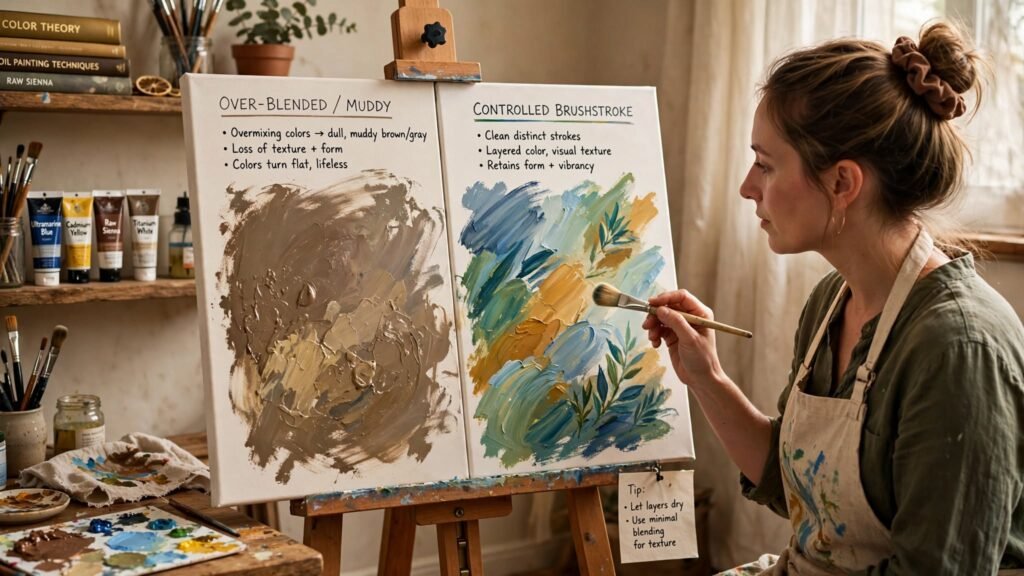
Instead of continuously brushing the same area, make deliberate strokes and step back to observe the result. Allow some visible brushwork to remain when appropriate. You can use softer blending only where a smooth transition is actually needed. Controlled brushwork often creates more interesting surfaces than trying to make every section perfectly smooth.
6. Applying Thick Paint Over Thin Paint Incorrectly
Understanding paint thickness is essential when learning oil painting. Beginners may apply thick layers over thin layers without understanding how different paint consistencies behave. This can create problems with drying, texture, and stability.
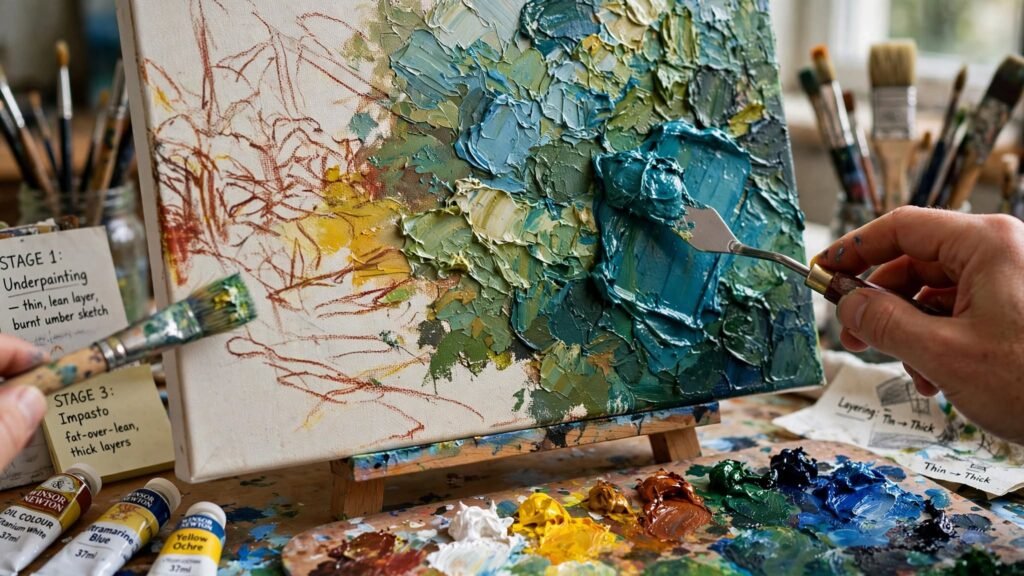
A useful principle is to gradually build the painting rather than randomly changing the thickness of each layer. Early stages can be kept relatively lean and controlled, while later stages can contain richer and thicker paint. Following a consistent layering approach helps the artwork develop more naturally and makes the painting process easier to manage.
7. Starting Without a Basic Sketch or Composition Plan
Jumping directly into painting without planning the composition can cause proportion and placement problems. Beginners may start with an exciting detail, such as a flower or face, and later discover that other elements do not fit properly on the canvas.
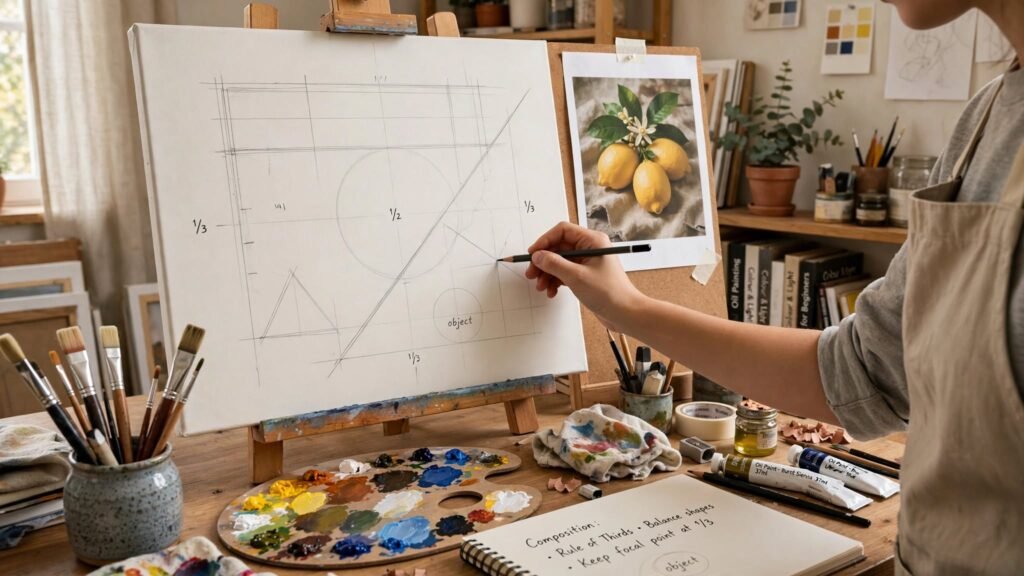
A simple preliminary sketch can prevent this problem. Lightly mark the major shapes and check their proportions before applying significant amounts of paint. You do not need a highly detailed drawing. The purpose is simply to establish where the main objects, horizon, focal point, and important shapes will be placed.
8. Neglecting Brush and Painting Tool Cleaning
Dirty tools can affect your colors more than you might realize. If a brush contains leftover dark blue and you use it in a light yellow mixture, the resulting color may become dull or contaminated. This can make color mixing frustrating.
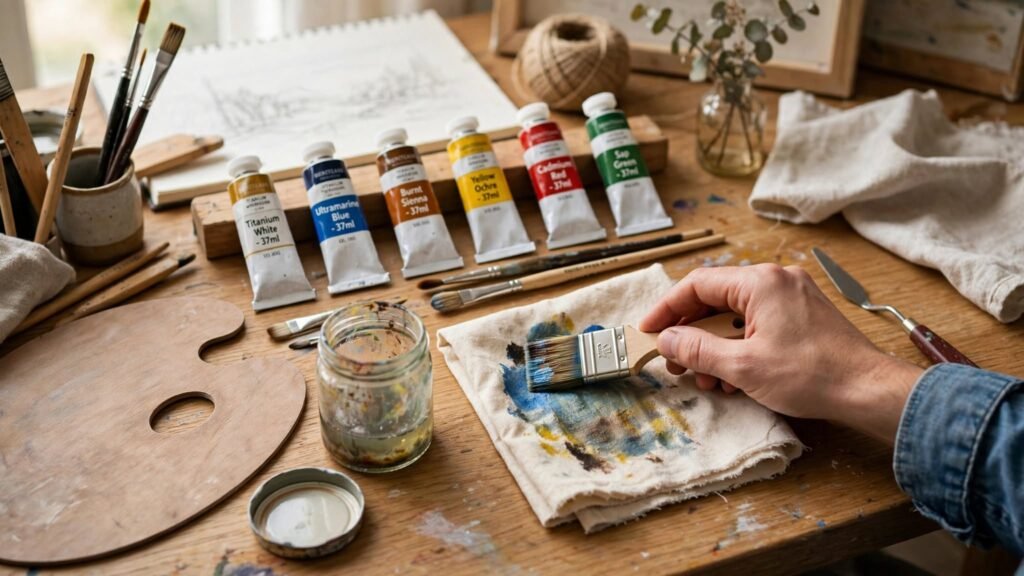
Make brush cleaning part of your regular painting routine. Wipe excess paint from brushes before switching colors and clean them properly when necessary. Also keep your palette organized so you know which colors are available. Clean tools give you greater control and help maintain the clarity of your color mixtures.
9. Trying to Finish the Painting Too Quickly
Oil painting requires patience. Because the paint remains workable for a longer period, beginners may become impatient and repeatedly modify areas that need time to settle. Rushing can lead to unnecessary blending, damaged layers, and loss of detail.
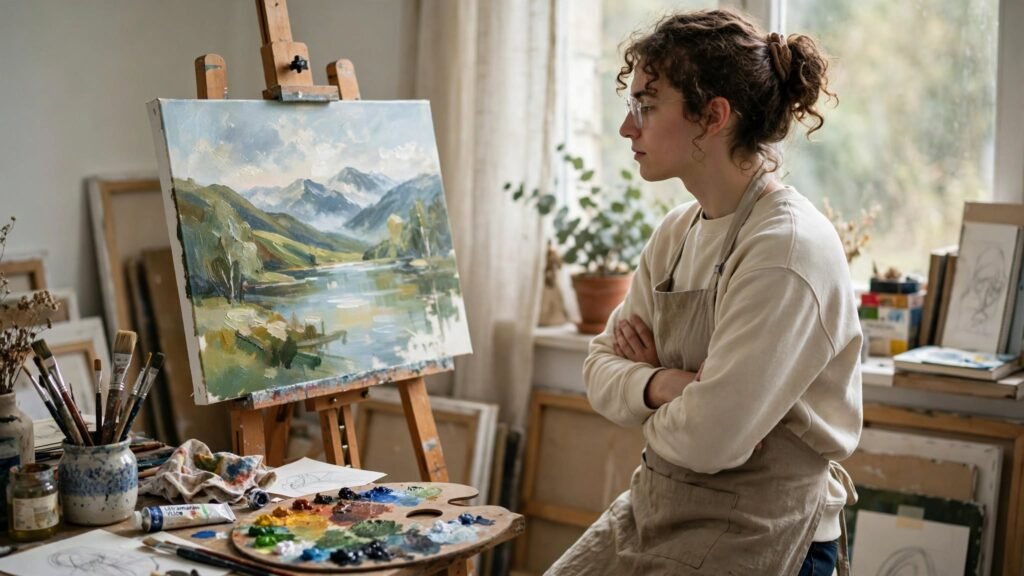
Take breaks during the painting process and regularly step away from the canvas. Looking at your artwork from a distance can reveal problems that are difficult to notice when you are sitting close to it. Depending on the painting and materials, some layers may need additional time before further work. Patience allows you to make more intentional decisions.
10. Expecting Every Painting to Be Perfect
Perhaps the most important mistake beginners can avoid is expecting their first paintings to look professional. Learning oil painting takes practice, observation, experimentation, and repetition. A painting that does not turn out as expected is not necessarily a failure—it can show you exactly what skill needs more practice.
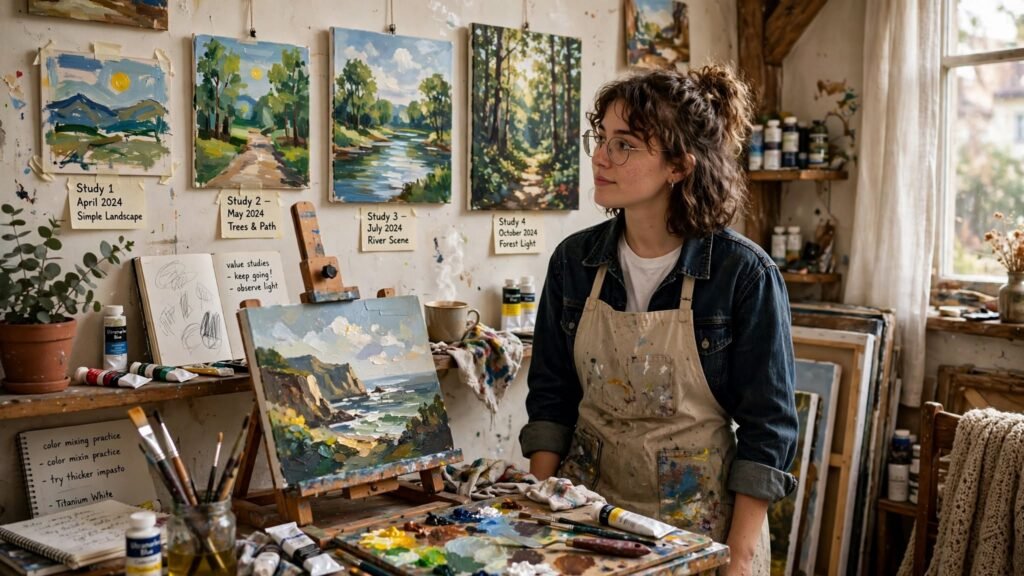
Keep older paintings so you can compare them with newer work. Notice improvements in your color mixing, brush control, composition, values, and confidence. Instead of trying to eliminate every mistake, use each painting as an opportunity to learn. Regular practice is one of the most effective ways to develop your personal painting style.
How to Improve Your Oil Painting Skills
Avoiding common mistakes is only one part of becoming a better oil painter. Regular practice is equally important. Try dedicating time to individual skills instead of attempting a complicated masterpiece every time you paint. For example, spend one session practicing gradients, another practicing color mixing, and another studying light and shadow.
It is also useful to experiment with different subjects. Landscapes can help you understand atmosphere and values, while still-life paintings can improve observation and color relationships. Floral paintings can teach you about edges and brushwork, and portraits can challenge your understanding of proportion and skin tones.
If you are building your first painting workspace, choosing suitable materials can also make the learning process easier. You can connect this article with your beginner supply guide, 15 Best Oil Painting Supplies for Beginners to Get Started, once that article is published at its final URL. Good materials do not replace practice, but suitable supplies can help you work more comfortably and consistently.
Conclusion
Oil painting can seem difficult when you are first learning, but many beginner problems can be avoided by developing simple and consistent habits. Mistakes such as using too much paint, overmixing colors, ignoring value, using the wrong brush, over-blending, and rushing through layers can affect the appearance of your artwork. Understanding these challenges before you begin gives you a better foundation and allows you to approach your painting sessions with greater confidence. Remember that you do not need to master every technique immediately. Start with simple subjects, learn how your materials behave, and focus on improving one skill at a time. A basic composition sketch, controlled color palette, clean brushes, and thoughtful layering can make your painting process much easier. Most importantly, permit yourself to experiment. Oil painting is a hands-on art form, and many skills become clearer through practice rather than theory alone.
Every painting you create can teach you something new. If your colors become muddy, you learn more about color mixing. If your composition feels unbalanced, you learn the importance of planning. If your brushwork becomes too smooth, you discover how controlled strokes can add character and texture. Instead of viewing mistakes as reasons to stop, treat them as useful information about what you can improve next. Practicing small exercises can also be more productive than constantly trying to complete large, complicated artworks. Spend time studying values, mixing limited color palettes, practicing edges, and experimenting with different brushes. These exercises gradually build the technical foundation needed for more ambitious paintings. With patience and regular practice, you can become more comfortable with oil paints and develop a painting process that feels natural to you.