11 Easy Mini Pumpkin Painting Ideas for Fall
Fall is the perfect season to bring warm colors, playful designs, and handmade creativity into your home. If you love seasonal crafts but do not want to spend hours working on complicated projects, mini pumpkin painting ideas are an easy and enjoyable option. Small pumpkins are simple to handle, affordable, and versatile enough for everything from elegant table decorations to cute Halloween crafts. With a few basic paints, brushes, and creative ideas, you can transform plain mini pumpkins into beautiful pieces of fall décor.
Painting mini pumpkins is also a wonderful activity for beginners, families, and anyone who enjoys DIY art. Experiment with traditional orange, earthy browns, creamy whites, deep greens, or modern pastel shades. Add flowers, leaves, patterns, faces, lettering, or metallic details to create a look that matches your personal style. In this guide, you will discover 11 easy mini pumpkin painting ideas for fall that can brighten your home, centerpiece, entryway, shelf, or seasonal display.
Basic Supplies for Mini Pumpkin Painting
Before starting your pumpkin painting projects, gather a few simple supplies. You can use real mini pumpkins, small craft pumpkins, or miniature foam pumpkins depending on whether you want a temporary or reusable decoration. Acrylic paint is a popular choice because it dries relatively quickly and works well for many craft surfaces.
You will also need small and medium paintbrushes, a paint palette or disposable plate, water for cleaning brushes, paper towels, and a pencil for lightly sketching designs. Optional supplies include paint markers, metallic paint, fine-tip brushes, glitter, clear sealer, and small decorative elements such as faux leaves or ribbon. Cover your work surface with newspaper or craft paper before painting. If you are working with children, choose washable, non-toxic craft materials whenever possible.
1. Classic Orange Mini Pumpkins
A classic orange pumpkin design is one of the easiest ways to create traditional fall décor. Start by painting your mini pumpkin with a warm orange acrylic paint. Depending on the original surface, you may need two or three thin coats for an even finish. Allow each coat to dry before applying the next one. Once the orange base is completely dry, use a small brush to add slightly darker curved lines following the natural sections of the pumpkin.
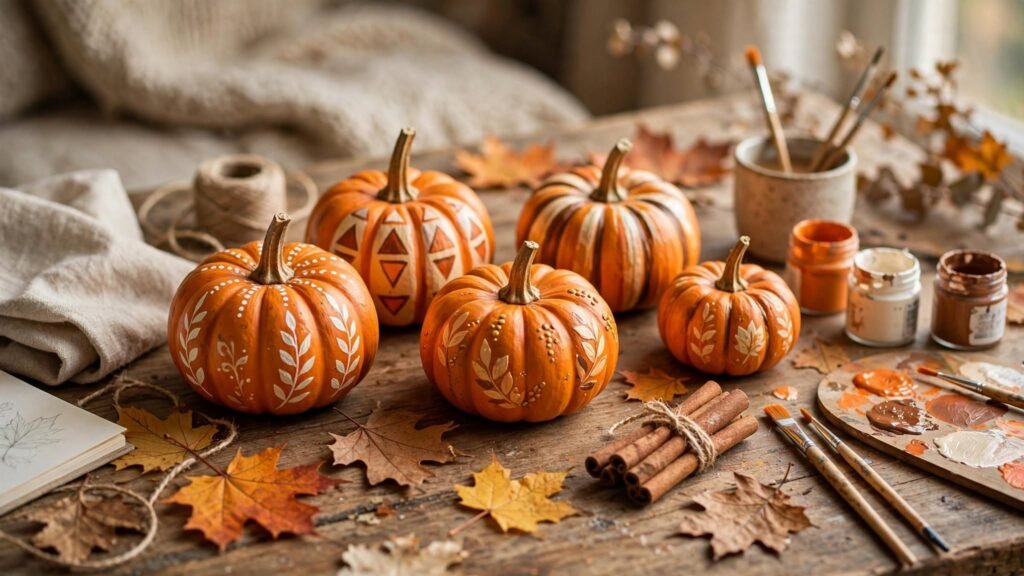
For an extra polished appearance, paint the stem brown or dark green. You can also add a tiny highlight using a lighter shade of orange or cream. Arrange several finished pumpkins together in a wooden bowl, basket, or tray. This simple design works beautifully for dining tables, coffee tables, kitchen counters, and autumn-themed shelves. If you want even more inspiration, explore these creative pumpkin painting ideas for additional designs and seasonal projects.
2. White and Gold Mini Pumpkins
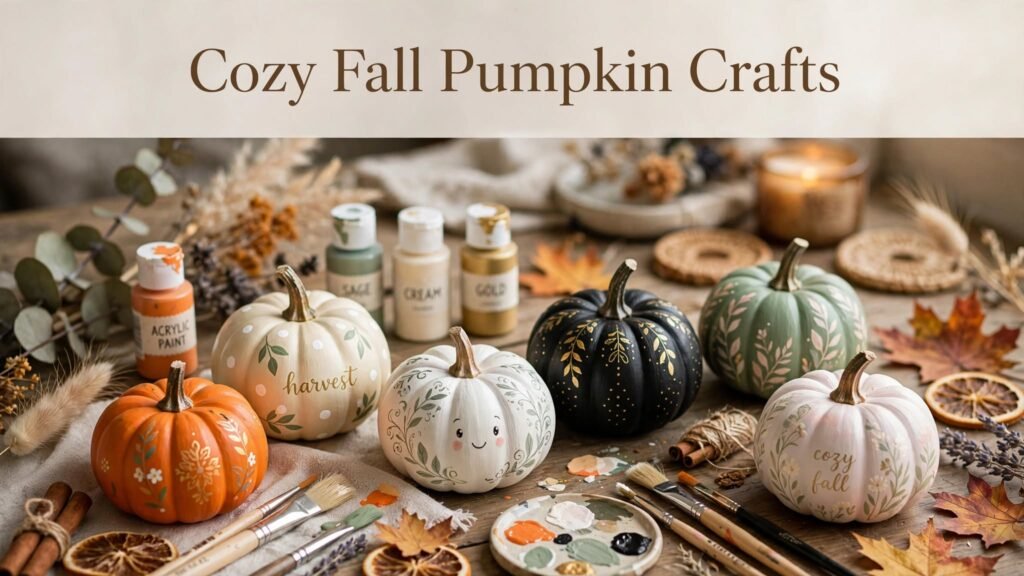
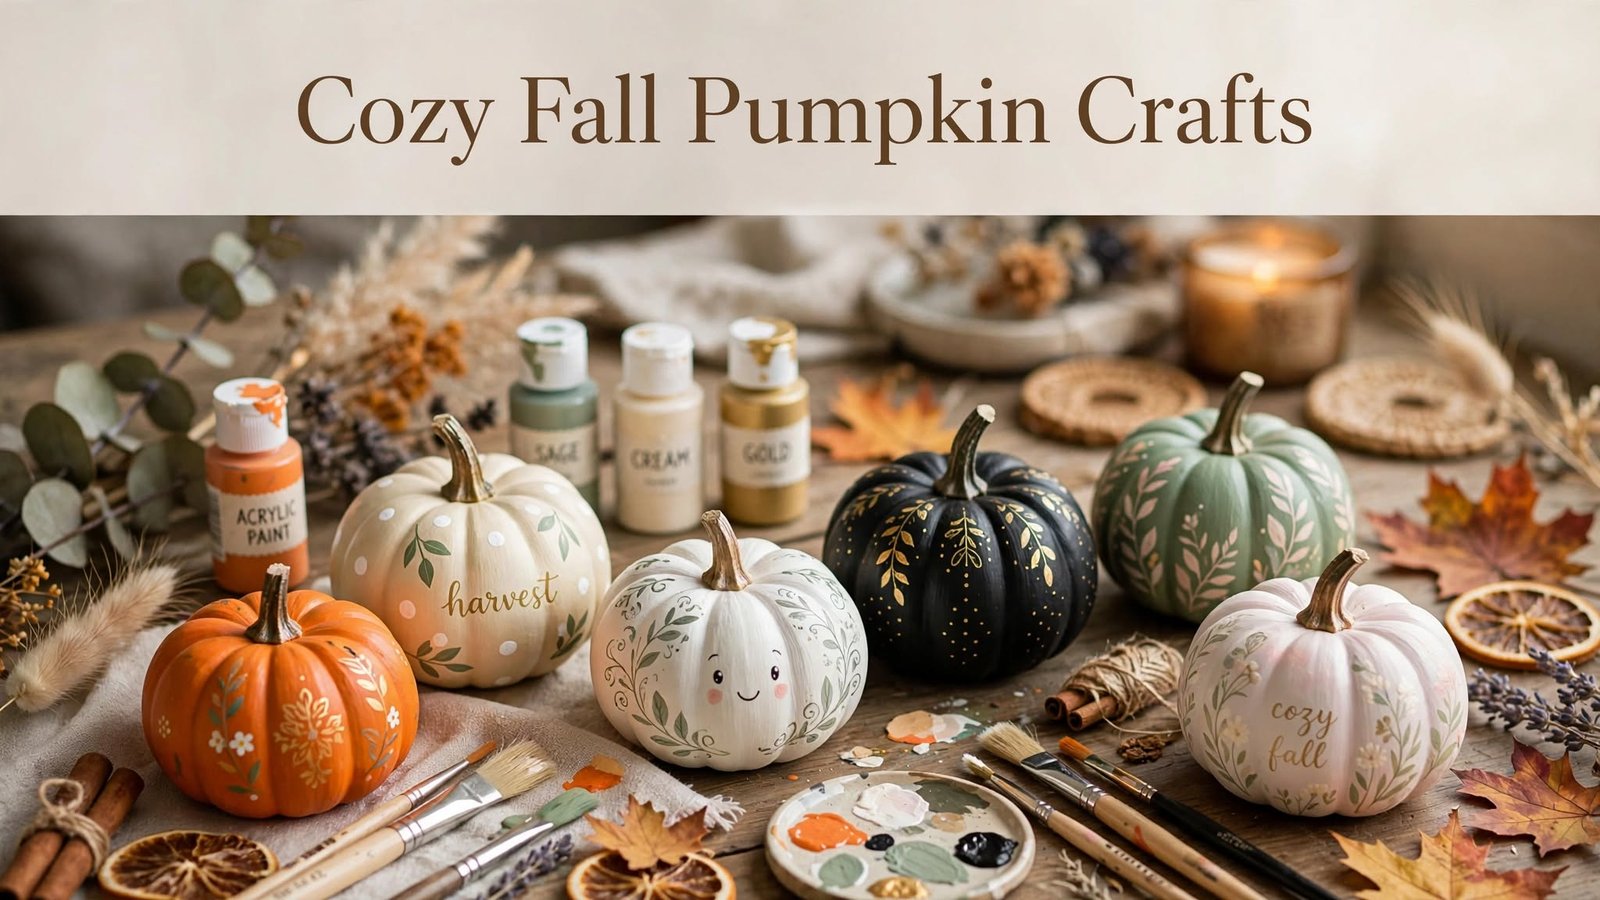
White and gold pumpkins create an elegant fall decoration without looking overly traditional. Begin with a smooth white base coat, using cream or ivory paint if you prefer a softer appearance. After the base has dried, use a fine brush or gold paint marker to create simple stripes following the pumpkin’s natural ridges.
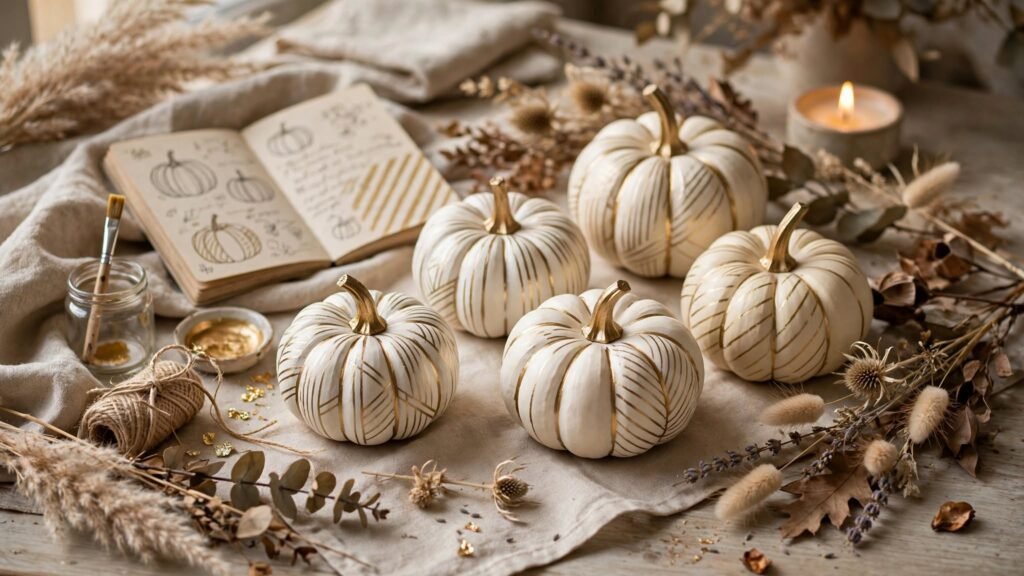
You can make the gold details as subtle or dramatic as you like. Another option is to paint only the stem gold and add a few small dots around the pumpkin. Display these pumpkins alongside candles, dried flowers, neutral pottery, or a wooden tray. This design is especially suitable for modern, minimalist, farmhouse, or elegant fall interiors.
3. Cute Polka Dot Pumpkins
Polka dots are an easy pattern for beginners because you do not need advanced painting skills. Choose a base color such as orange, cream, sage green, dusty pink, or white. Once the base coat is dry, use the end of a small paintbrush or a dotting tool to add evenly spaced dots.
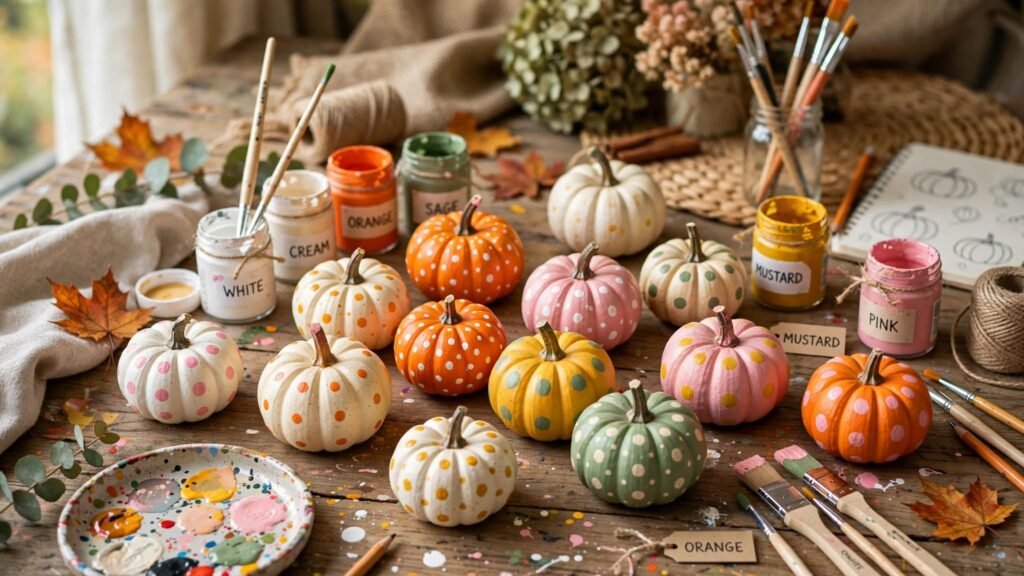
Try contrasting combinations such as white dots on orange pumpkins or gold dots on cream pumpkins. You can create identical patterns across several pumpkins or give every pumpkin a different dot arrangement. Place the finished pieces together to create a cheerful fall display. This project is also easy to customize for Halloween parties, children’s craft activities, or colorful seasonal décor.
4. Mini Pumpkin Leaf Painting
Bring the beauty of autumn foliage to your pumpkins by painting simple leaves. Start with a neutral pumpkin base such as cream, pale orange, or muted green. Sketch a few small leaves lightly with a pencil before filling them with paint.
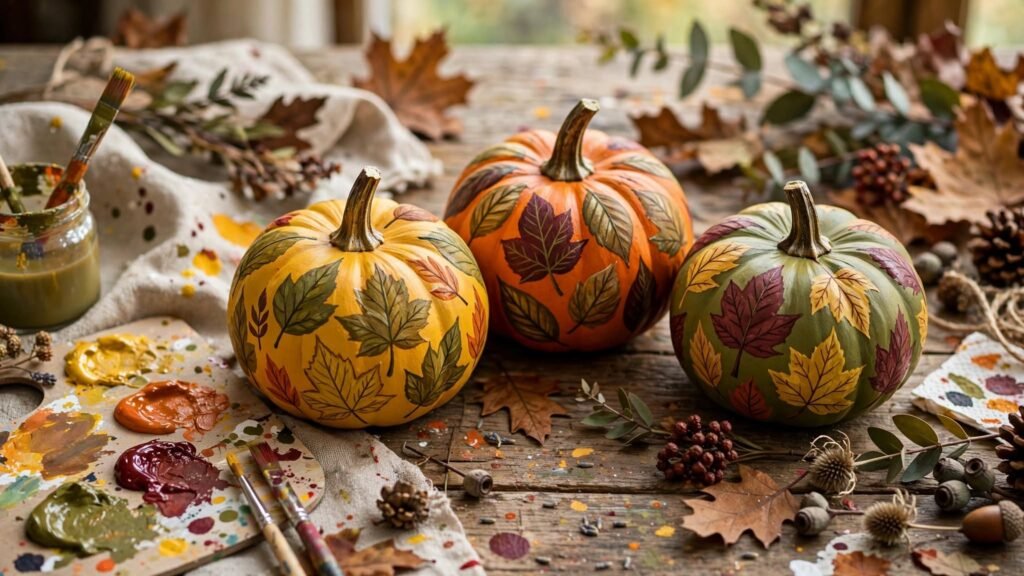
Use autumn shades such as mustard yellow, burnt orange, burgundy, olive green, and brown. Add thin stems and small veins with a fine brush. You do not need to make every leaf identical; natural variation makes the design look more handmade. These painted pumpkins are perfect for a fall centerpiece because they combine the pumpkin shape with another recognizable symbol of the season. Looking for more seasonal inspiration? Browse this pumpkin decorating idea on Pinterest and find creative designs you can try at home.
5. Floral Mini Pumpkin Painting
Flowers can turn a simple pumpkin into a charming decorative artwork. Choose a light-colored pumpkin base and paint small flowers around the surface. Beginners can create flowers using simple circles and curved petals rather than attempting realistic botanical illustrations.
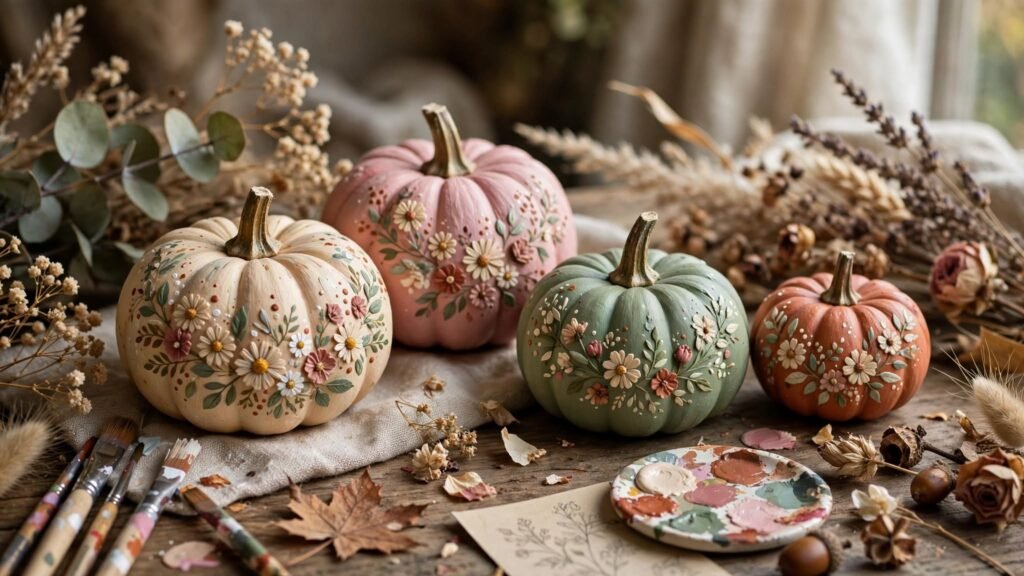
Try tiny daisies, sunflowers, wildflowers, or simple five-petal blooms. Add green stems and leaves between the flowers. For a modern look, use muted colors such as cream, terracotta, sage, and dusty pink. Floral pumpkins can stay on display throughout fall because they are not limited to Halloween. They also make lovely handmade centerpieces and seasonal gifts.
6. Pumpkin Face Painting
Give your mini pumpkins personality by painting cute faces on them. This idea can be adapted for both Halloween and general fall décor. Paint the pumpkin orange, white, black, or any color you prefer. Once dry, use black paint or a fine paint marker to create eyes, eyebrows, a small nose, and a smile.
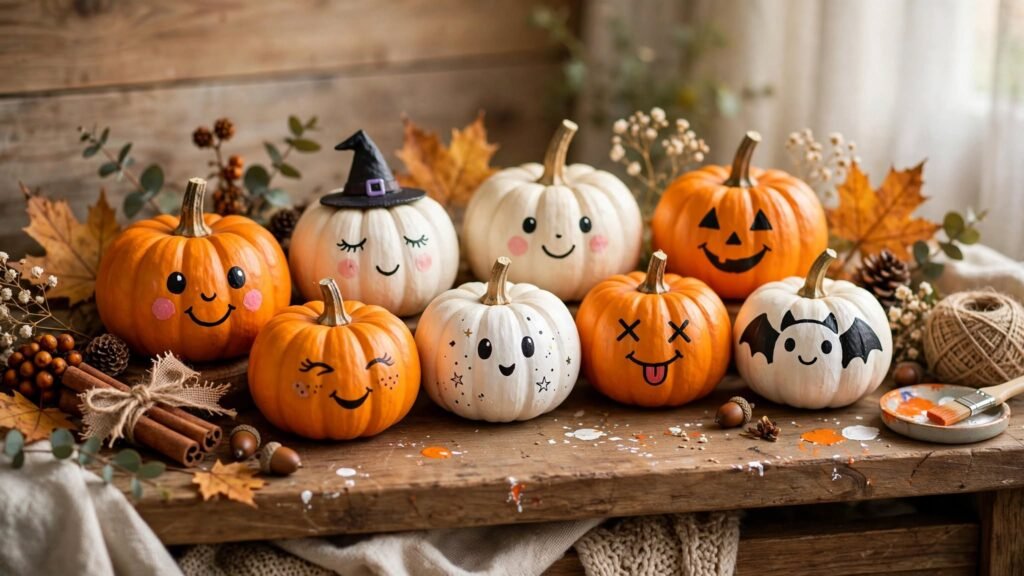
For Halloween, try playful ghost faces, friendly jack-o’-lantern expressions, or silly faces instead of scary designs. You can make a whole collection of pumpkins with different personalities. Place them on a shelf, children’s table, entryway, or Halloween craft display. These painted faces can also be combined with other simple Halloween decor ideas to create a fun seasonal display.
7. Black and White Patterned Pumpkins
For a modern and sophisticated look, try a black-and-white color scheme. Paint some pumpkins matte black and others creamy white. Add simple patterns such as stripes, checks, dots, stars, or geometric shapes. For a nostalgic display, combine these black-and-white pumpkins with vintage Halloween decor ideas and antique-inspired accessories.
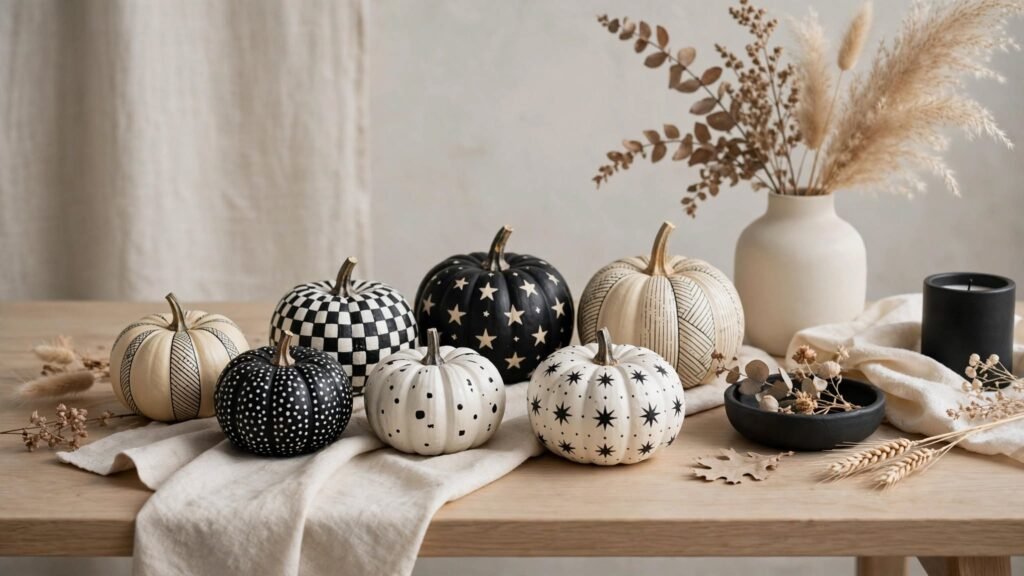
The limited color palette makes the display look coordinated even when each pumpkin has a different design. Use a fine brush or paint marker to create clean lines. These pumpkins work particularly well in contemporary homes where bright seasonal colors may not fit the existing décor. Place them beside black candleholders, white ceramics, or neutral textiles for a cohesive arrangement.
8. Rainbow Mini Pumpkins
Add a cheerful twist to traditional fall décor with rainbow-painted pumpkins. Paint each mini pumpkin a different color, such as red, orange, yellow, green, blue, purple, and pink. Alternatively, paint rainbow arches across one pumpkin.
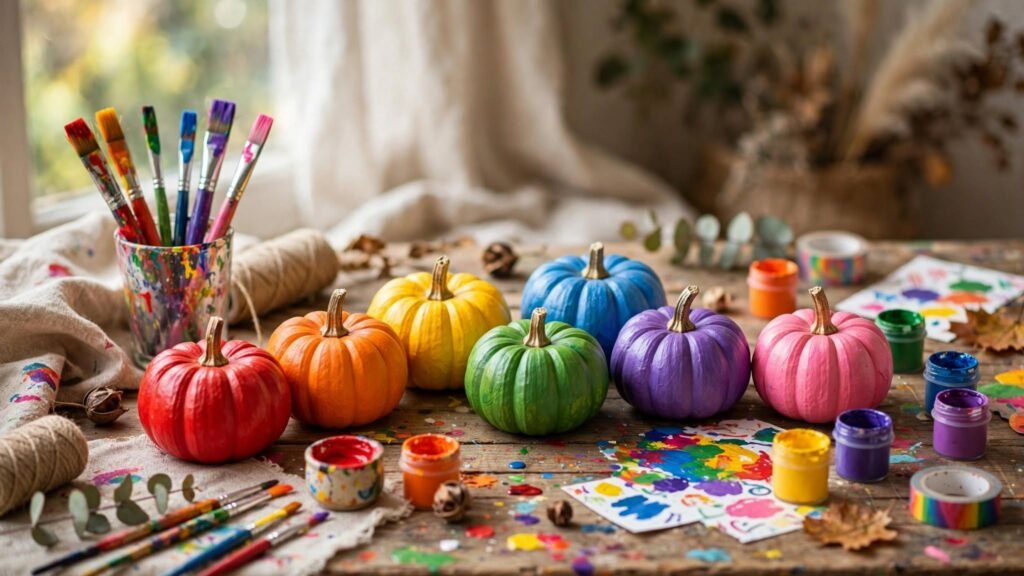
For a smoother result, apply several thin layers instead of one thick coat. You can also add tiny white clouds, stars, or gold accents. Rainbow pumpkins are especially fun for children’s rooms, creative studios, craft parties, and colorful seasonal displays. They are a great reminder that fall decorating does not have to follow one specific color palette. If you love floral designs, check out this Pinterest pumpkin craft idea for more beautiful inspiration to add to your autumn décor.
9. Pumpkin Lettering Ideas
Turn your mini pumpkins into personalized decorations by adding letters or short words. Paint the pumpkins in your favorite fall colors and allow them to dry completely. Then use a pencil to lightly sketch a letter before tracing it with a fine brush or paint marker. If you are decorating your porch or garden, pair your painted pumpkins with these easy outdoor Halloween decoration ideas.
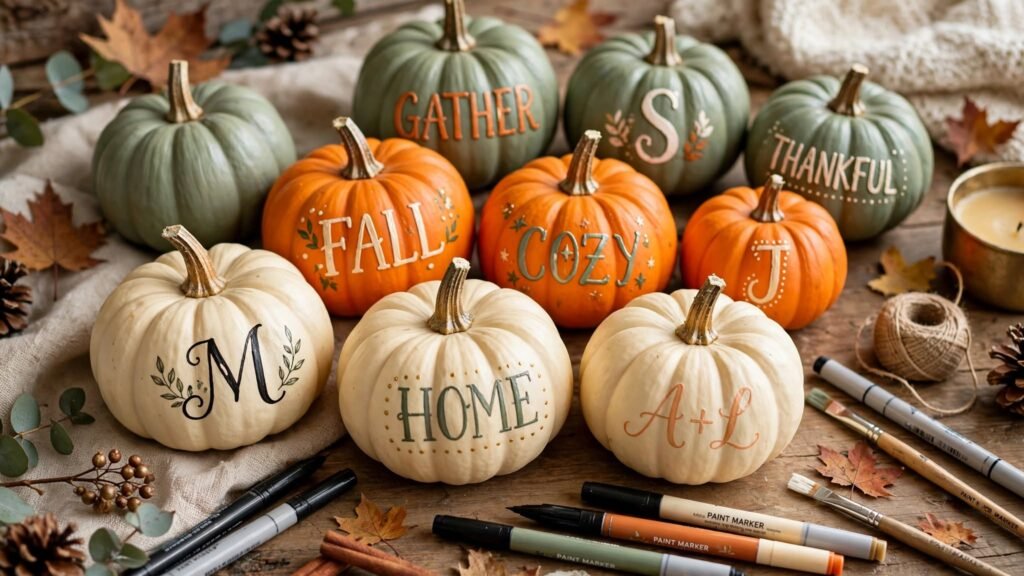
You could paint initials, family names, short words such as “FALL,” or individual letters that spell a seasonal message when several pumpkins are displayed together. Metallic lettering on cream or dark pumpkins can create a particularly attractive result. Personalized pumpkins are also useful for party tables, gift baskets, seasonal entryway displays, and handmade décor.
10. Glitter Accent Mini Pumpkins
If you enjoy a little sparkle, combine painted pumpkins with glitter accents. Start by painting the entire pumpkin a base color such as white, black, orange, pink, or cream. Once dry, apply craft glue to selected sections such as the stem, pumpkin ridges, or small decorative patterns.
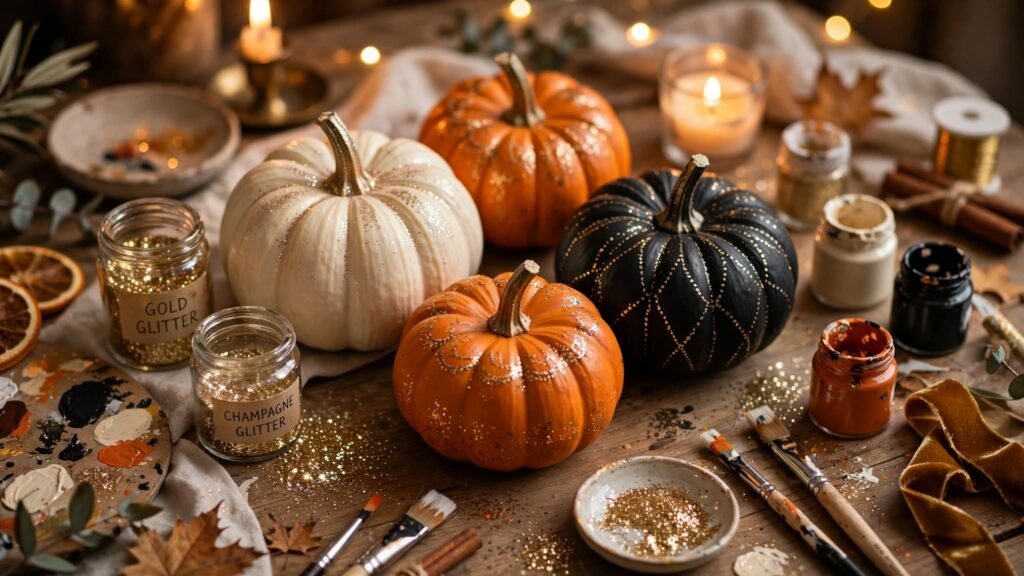
Sprinkle glitter over the glue and gently shake away the excess. Gold, silver, copper, or champagne glitter can create an elegant appearance. Avoid covering the entire pumpkin if you want the painted design to remain visible. These sparkling mini pumpkins are especially attractive for festive tables, party décor, and glamorous fall displays.
11. Rustic Farmhouse Mini Pumpkins
Create a cozy farmhouse look using neutral colors and simple distressed details. Paint mini pumpkins in cream, beige, muted sage, soft brown, or dusty orange. After the paint dries, lightly sand a few areas to reveal some of the original surface underneath. For more nostalgic seasonal projects, explore these vintage Halloween crafts and decorations for additional fall inspiration.
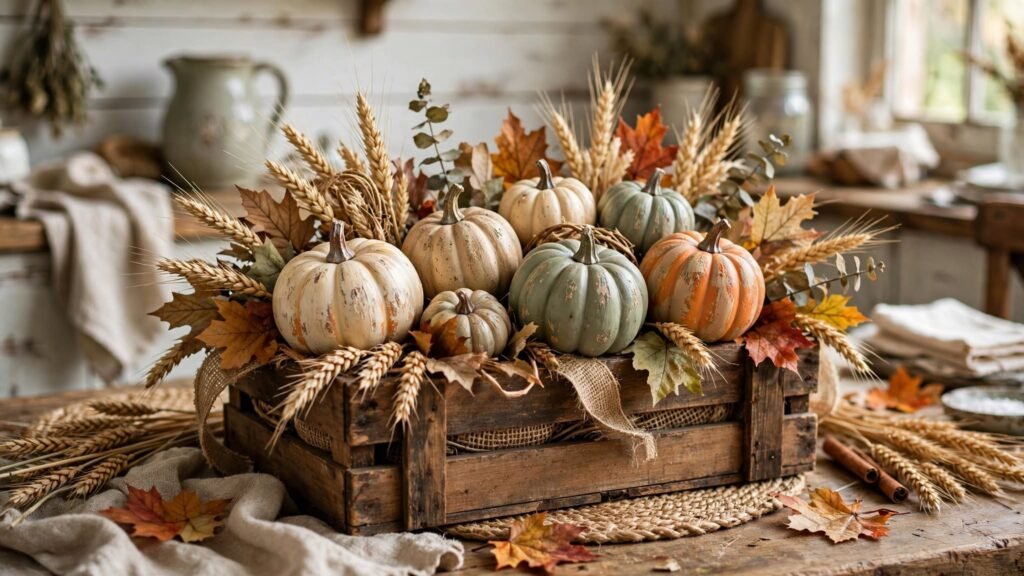
You can also add tiny hand-painted leaves, simple stripes, or farmhouse-style lettering. Place the pumpkins in a wooden crate, woven basket, or galvanized tray with dried wheat and autumn foliage. This style is perfect for anyone who prefers understated seasonal décor. The finished pumpkins can be reused year after year if you choose durable craft pumpkins and seal the painted surface.
Tips for Painting Mini Pumpkins Successfully
For the smoothest results, clean your pumpkins before painting and let them dry completely. If the surface is very smooth, a suitable primer can help acrylic paint adhere more evenly. Apply thin coats and allow each coat to dry rather than using one heavy layer.
Use small brushes for detailed designs and paint markers for lettering or geometric patterns. If you make a mistake, simply allow the paint to dry and paint over it. Most importantly, experiment with colors and patterns that reflect your own decorating style. Mini pumpkins are small canvases, so they are an excellent way to practice painting techniques without feeling overwhelmed.
If you are using real pumpkins, remember that they are seasonal and may eventually deteriorate. Craft pumpkins are a good alternative when you want decorations that can be stored and reused. A suitable protective sealer can also help preserve finished craft projects, depending on the material and paint used.
Conclusion
Mini pumpkins are wonderful little canvases for experimenting with seasonal creativity, especially when you want an easy fall craft that does not require advanced painting skills. From classic orange pumpkins and elegant white-and-gold designs to floral patterns, cute faces, colorful rainbows, and rustic farmhouse styles, there are countless ways to transform a simple pumpkin into attractive décor. The best part is that you can adjust every design to match your home, favorite colors, or the occasion you are decorating for. With basic acrylic paints, small brushes, and a little patience, beginners can create beautiful handmade pieces that look thoughtful and personal. These mini pumpkin painting ideas are also enjoyable projects for families, craft nights, classrooms, and seasonal gatherings.
Whether you create one special pumpkin or an entire collection, painted mini pumpkins can add warmth and personality to your fall decorations. Try combining several designs in one display for a more interesting arrangement, or choose one color palette to create a coordinated centerpiece. You can place finished pumpkins on shelves, tables, trays, mantels, entryways, or gift baskets. Experiment with patterns, lettering, metallic details, leaves, flowers, and different painting techniques until you find a style you love. Most importantly, remember that handmade décor does not need to be perfect to be beautiful. Your creativity is what makes each painted pumpkin unique and meaningful.